Quick Start Guide
The quick start guide makes most sense while following along with the app. Montessori Notes comes pre-loaded with all the areas, chapters, lessons and exercises for the level (primary or elementary) associated with your account. After creating your account, build your class list by adding each child’s first name, last name and birthdate. Montessori Notes translates this information into a class list that shows each child’s first name, first initial of last name and age. The class list is ordered from youngest to oldest. When the class list is complete you are ready to fully use the app.

Records
- Once child is selected through tap gesture, content areas are shown on bottom, the chapter list of the selected area is listed on screen.
- Short tap to look through chapters, lessons and exercises.
- Update the status of lessons or exercises by tapping the circle.
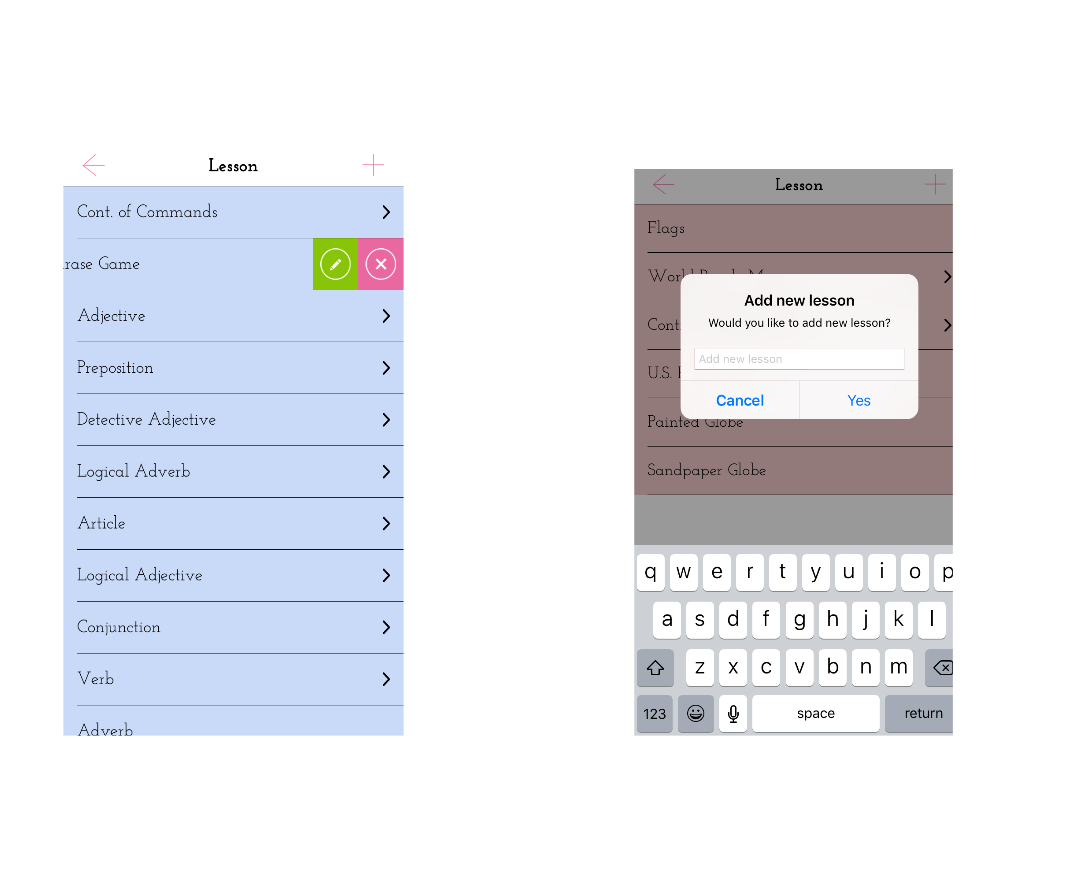
Edit Records
- Swipe item to left to edit the title.
- Tap “plus” icon in upper-right corner to add.
- Deleting an item will remove that item and everything under it.

Create Plans
- Select desired date range. Date-range will be the plans title.
- Choose desired view, either student or record.
- Student: Add lessons/exercises from that child’s set of records by multi-selecting using the tap gesture. Fields turn gray when selected. (Use long tap to move to exercises.) Tap next in upper right corner.
- Record: Scroll through and multi-select children to add using the tap gesture. Fields turn gray when selected. Tap next in upper right corner.
- Tap CONTINUE button and repeat process until complete.
- Tap CREATE button when done.
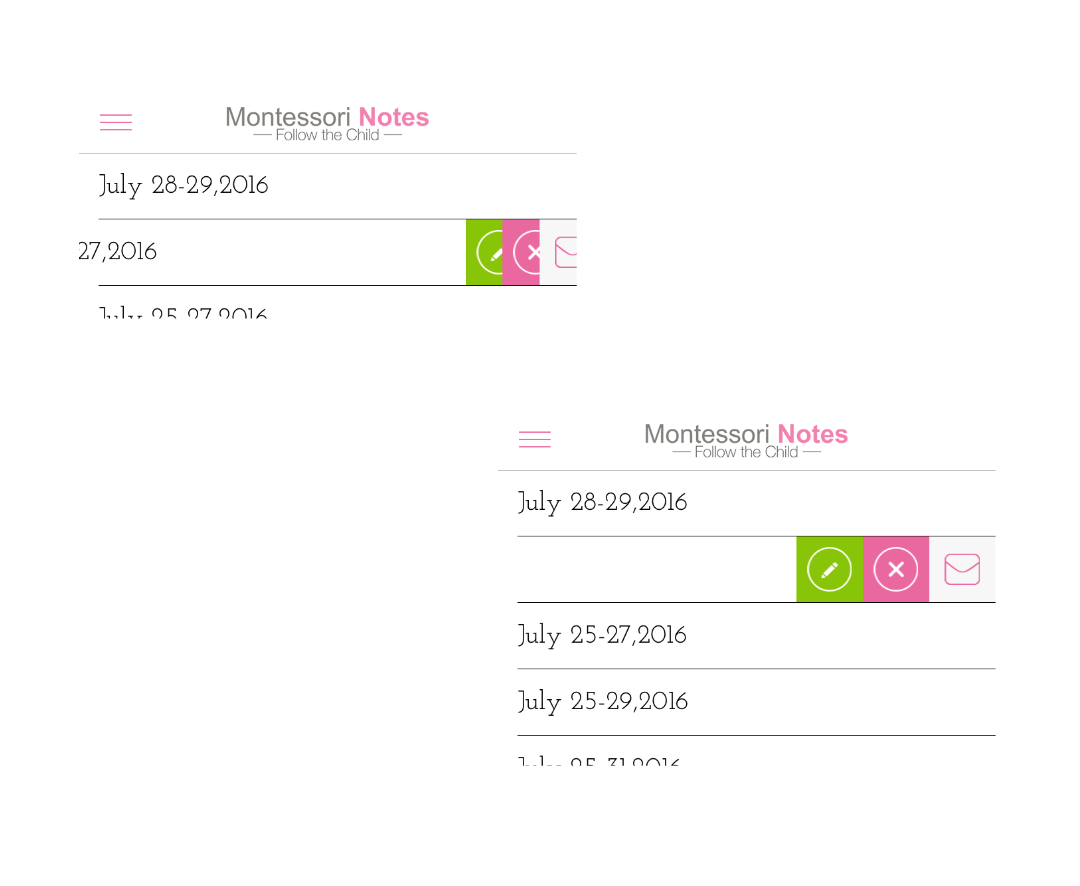
Plans
- From plans list, swipe left to either edit, delete or email plans.
- Update status of lessons and exercises from student view plans by tapping.